ADVERTISEMENT
Create a Warm Space: Decide on a peaceful, secure area in your house where the eggs can stay safe.
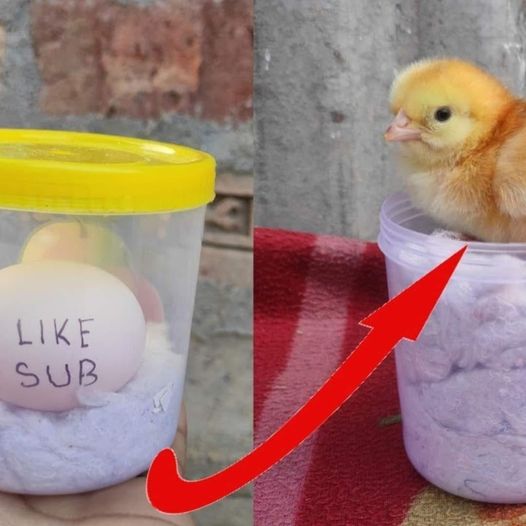
Prepare a box by filling it with a layer of wood shavings or straw for comfortable bedding.
It should always be heated, preferably between 99 and 101 degrees Fahrenheit.
To reach this temperature, you can use a heating pad or a lamp, but make sure to keep a constant eye on it using your thermometer.
Maintain Humidity: For proper hatching, eggs require the ideal humidity level. For the majority of the incubation period, aim for 50–55% humidity; in the final few days before hatching, this should rise to roughly 65%. A tiny dish of water placed next to the heat source can aid in preserving the appropriate level of humidity.
Turn the Eggs: Gently turn the eggs at least three times a day for the first eighteen days. By doing this, the embryo is kept from adhering to the shell. Give the eggs a break after eighteen days so the chick can orient itself for hatching.
Keep an eye out for Hatching: Although this might vary, eggs usually hatch after 21 days. Keep an ear out for peeping noises and wait for the eggs to crack. This is a thrilling moment!
To ensure the chicks get all leftover nutrients, keep the environment constant and resist the impulse to assist them in emerging from their shells.
Savour the Procedure: One pleasant experience that helps you feel more connected to nature is hatching eggs without the use of an incubator.
It’s an intriguing activity that may infuse your home with happiness and excitement, as well as a gentle reminder of life’s wonders. So prepare to witness the wonder of life being revealed in your living room as you gather your materials and erect your nesting box.
Cheers to a smooth hatch and the exciting sight of fresh chicks shortly!
ADVERTISEMENT
