ADVERTISEMENT
- 4: Replacing faulty parts
If any wiring or mechanism parts cannot be repaired, you may need to replace them. Use the flat-head screwdriver to remove faulty parts and replace the new ones, making sure everything fits properly. Remember to reuse electrical tape to cover any splices you made. - 5: Check for proper operation
Once you’ve finished making the repairs, reassemble the light using the flat-head screwdriver. Plug the light in and check for proper operation. If you’ve followed all the steps and made sure to check every detail, your light should be ready to continue lighting up your home. -
Additional Tips:
- Check periodically : Even if the lamp works fine after the repair, it is advisable to check it periodically to make sure all the connections are in good condition. A quick check every few months can prevent future problems.
- Add quality electrical tape : Make sure to use a good quality electrical tape, especially on electrical connections, to avoid long-term safety issues.
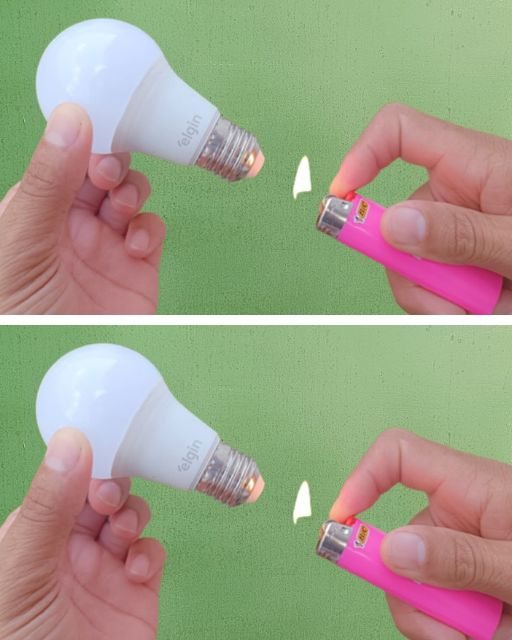
- LED Bulbs : If your light fixture uses traditional bulbs, this is a great opportunity to switch to LED bulbs. These are more energy efficient and have a longer lifespan, which will help you save money in the future.
ADVERTISEMENT
