ADVERTISEMENT
Step 2: Cut and Cure the Ginger
1. Cut the ginger rhizome into pieces, ensuring each piece has at least one eye.
2. Allow the pieces to dry for a day or two to heal and form a callous over the cut surface.
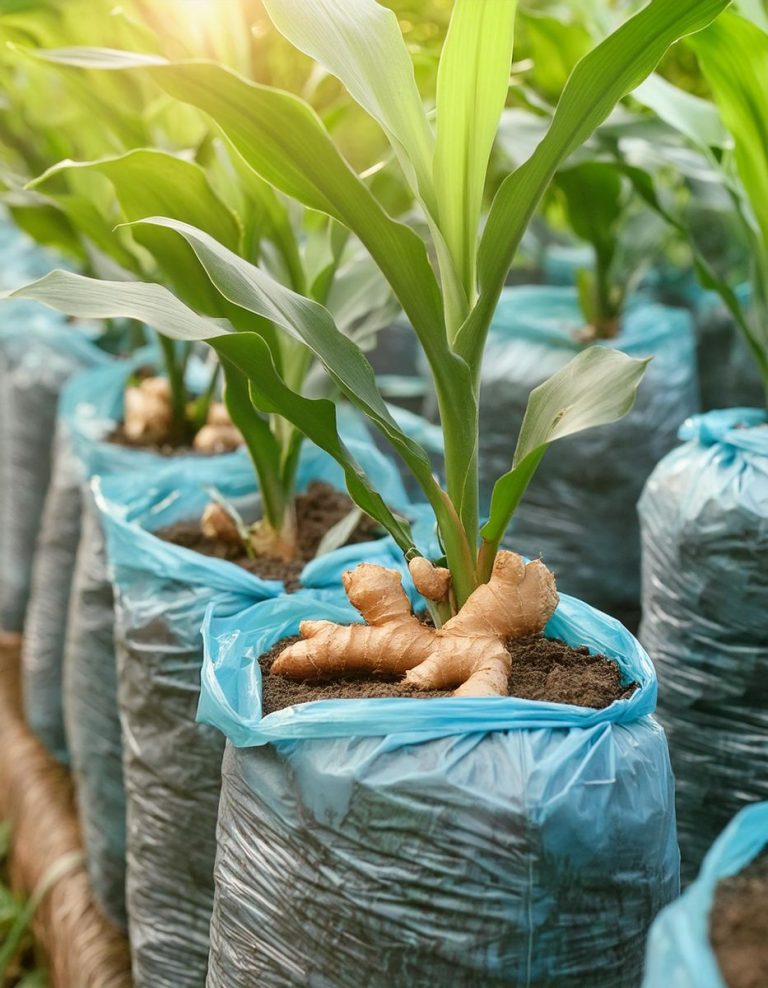
Step 3: Plant the Ginger
1. Fill the plastic bag with 2-3 inches of potting soil.
2. Place the ginger pieces on the soil, eyes facing upward.
3. Cover the ginger with an additional layer of soil, about 1-2 inches thick.
Step 4: Watering and Care
1. Water the soil lightly to keep it moist but not waterlogged.
2. Place the bag in a warm, shaded area, avoiding direct sunlight.
3. Check moisture levels regularly and water as needed to maintain consistent moisture.
Step 5: Growth and Harvesting
1. Expect to see shoots sprouting within a few weeks.
2. Continue to provide care, ensuring the soil stays consistently moist.
3. Your ginger will be ready to harvest in 8-10 months when the plant's leaves begin to turn yellow.
Advertisement
By following these steps, you'll be well on your way to successfully growing ginger in plastic bags, enjoying the convenience and freshness of homegrown ginger year-round.
ADVERTISEMENT
