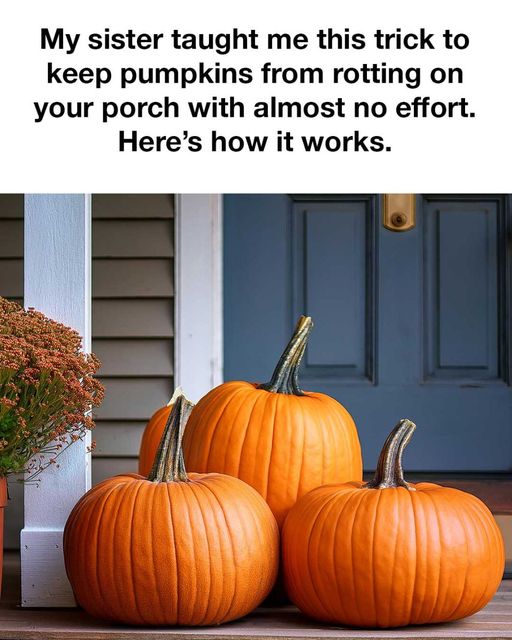
There’s nothing quite like the warm glow of a carved pumpkin on a crisp autumn night, or the sight of a perfectly placed pumpkin on your porch, greeting visitors with its rustic charm. However, as delightful as these decorations are, there’s one pesky problem that seems to plague every pumpkin lover: rot.
It seems that no matter how hard you try, your beautiful pumpkins always succumb to the inevitable decay much sooner than you would like. But fear not! My sister taught me a simple trick to keep pumpkins from rotting, and it’s surprisingly easy. Here’s how it works.
Advertisement
The Problem with Pumpkins
Before diving into the trick, let’s understand why pumpkins rot in the first place. Pumpkins, like any organic material, are prone to decomposition. Once harvested, pumpkins are exposed to various elements that accelerate their decay:
Moisture: Water from rain or dew can settle into any cuts or exposed areas of the pumpkin, promoting the growth of mold and bacteria.
Bacteria and Fungi: These microorganisms are naturally present in the environment and quickly colonize on the pumpkin’s surface, especially when there’s moisture.
Temperature Fluctuations: Warm daytime temperatures combined with cool nights can cause the pumpkin’s skin to expand and contract, leading to cracks that invite further decay.
Insects and Pests: Pumpkins attract insects, which can burrow into the flesh and speed up the rotting process.
The Trick My Sister Taught Me
So, what’s the secret to keeping your pumpkins fresh on the porch? The trick my sister taught me is a simple yet effective solution: a bleach bath followed by a light coating of petroleum jelly.
Here’s a step-by-step guide to this easy method:
Step 1: Prepare the Bleach Solution
To start, you’ll need to make a bleach solution. This solution will help kill any bacteria, mold, and fungi on the surface of the pumpkin. Here’s how you do it:
Mix 1 tablespoon of bleach per gallon of water in a large bucket or tub. This dilution is strong enough to disinfect without being too harsh on the pumpkin.
Ensure that the solution is mixed well so that the bleach is evenly distributed.
Step 2: Soak the Pumpkin
Once your bleach solution is ready, it’s time to give your pumpkin a bath:
Submerge the pumpkin completely in the bleach solution for about 10 minutes. If you have a carved pumpkin, make sure to also submerge the interior to get rid of any bacteria or mold spores lurking inside.
For larger pumpkins that might not fit entirely in a bucket, you can use a sponge or cloth to generously apply the solution to all surfaces.
Continued on next page
