[rotated_ad]
DIY Liquid Soap: Save Money with This Simple Trick

- Turn off the heat and let the mixture cool. As it cools, the soap will thicken. Stir occasionally to ensure an even consistency.
- Customize (Optional):
- Add a few drops of essential oils (like lavender, tea tree, or peppermint) for fragrance or additional benefits.
- Transfer and Store:
- Once the soap has completely cooled and reached your desired consistency, pour it into a container or pump bottle for easy use.
Tips:
- Consistency Adjustment: If the liquid soap is too thick after cooling, add more water and stir until it reaches your preferred texture. If it’s too thin, reheat and add more grated soap.
- Foaming Option: For a foaming hand soap, use a foam pump dispenser and dilute the liquid soap further with water.
- Reuse Containers: Save empty liquid soap bottles or jars to store your DIY soap, reducing waste even further.
Uses for DIY Liquid Soap:
- Hand Soap: Refill your hand soap dispensers.
- Body Wash: Use it as a body wash in the shower.
- Cleaning Solution: This versatile soap can also be used for light household cleaning tasks.
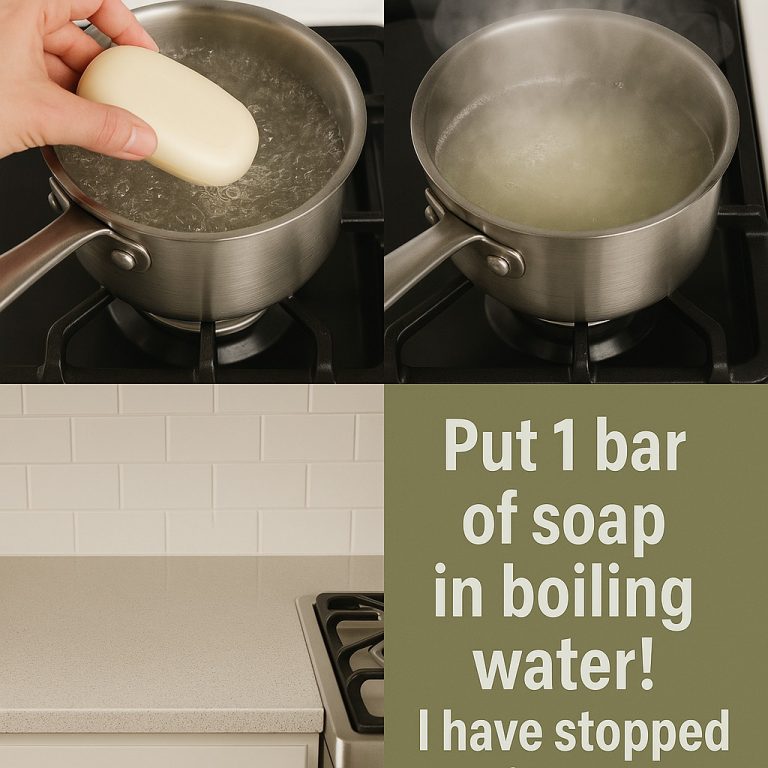
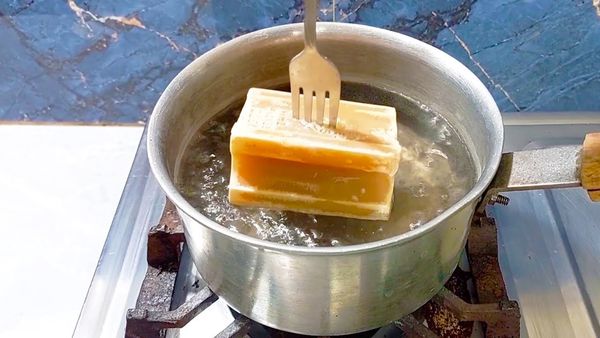
By turning a single bar of soap into liquid soap, you not only save money but also reduce waste, control the ingredients for a more natural product, and have the flexibility to customize it to your preferences. It’s a simple, sustainable, and practical solution for everyday life!

[rotated_ad]