ow to Use WD-40 to Fix a Remote Control
You’ll Need:
WD-40 (regular or Specialist Contact Cleaner is ideal)
Cotton swabs or a soft cloth
A flathead screwdriver or plastic pry tool (to open the remote)
Patience (no tools required for that 😉)
🧼 Step-by-Step Guide:
Step 1: Remove the Batteries
Never work on a remote with the batteries still in—it’s a safety must.
Step 2: Open the Remote (If Possible)
Use a small screwdriver or pry tool to carefully open the casing. Some remotes snap open; others may be screwed shut.
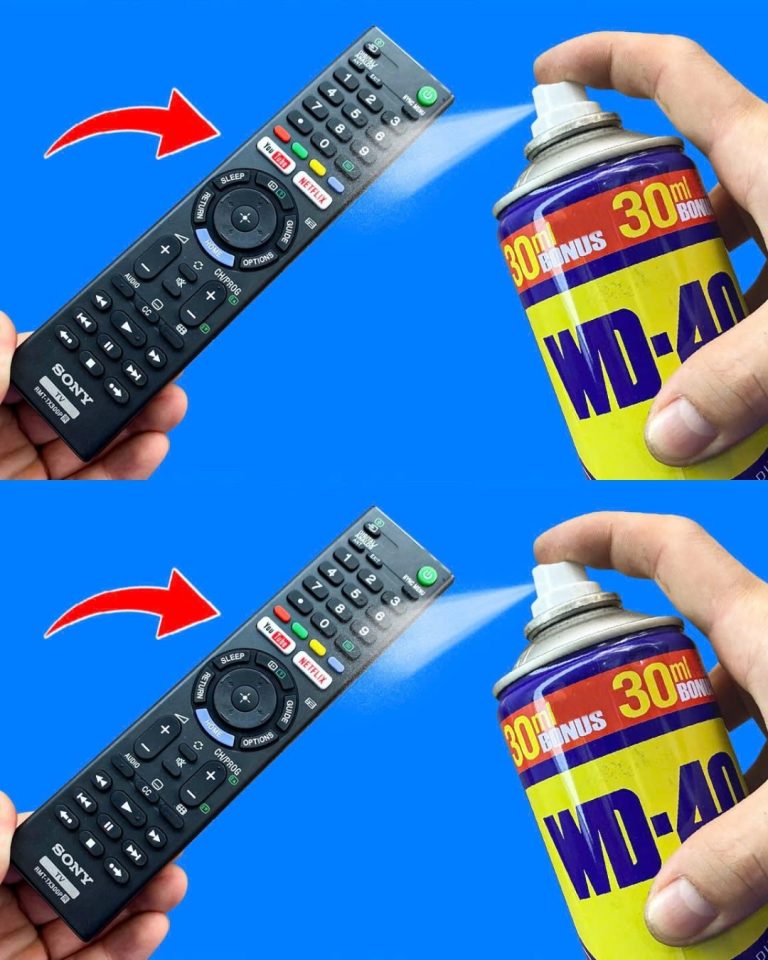
Step 3: Lightly Apply WD-40
Spray a small amount of WD-40 onto a cotton swab or cloth—never spray directly onto the circuit board.
Gently clean around the button contacts and rubber pad areas. Focus on spots that feel stiff or unresponsive.
If your remote doesn’t open, you can still:
Spray WD-40 onto a cotton swab.
Press each button while swabbing around its edges to let the solution seep in and clean from the outside.
Step 4: Wipe Excess and Let It Dry
Make sure there’s no puddling of liquid. Let it air dry for 5–10 minutes.
Step 5: Reassemble and Test
Put the remote back together, insert fresh batteries, and test it. You’ll often feel the difference immediately—buttons will respond faster and more smoothly.
✔️ What This Trick Fixes:
Buttons that only work occasionally
Sticky or stuck buttons
Remotes that stopped working after moisture exposure
Old remotes that seem “dead” but aren’t
⚠️ A Few Precautions:
Use sparingly—WD-40 is powerful and a little goes a long way.
If you’re unsure, try WD-40 Specialist Electrical Contact Cleaner, specifically made for electronics.
Never drench the internal components or circuit board.
Final Thoughts
Before you toss out that “dead” remote or spend money on a new one, grab your can of WD-40. With just a few careful steps, you can revive your remote controls and save yourself time and money. This one small trick has helped countless households—and it could be the quick fix yours needs too.
Would you like a one-page visual guide or video tutorial for this process?
